


Join our Telegram channel to learn more!
In the golden age of online selling, bad product photos can pretty much sign a death sentence for your product, regardless of how amazing it is in reality.
Some people hire a professional studio to get the job done, but this can be costly, especially if you’re just a small business owner.
Well, have you thought of doing it yourself?
How to Set Up a Home Photography Studio
5 Product Photography Tips
Common Product Photography Mistakes
Wrap Up
Product photography is easier than lots of people make it out to be. Fact is, you don’t need to be an expert photographer or even own a DSLR camera to take professional-looking product photos.
Read on and you’ll be a pro in no time!
A great place to start is to set up a basic home photography studio. Here’s what you’ll need:
Of course, if you’ve got additional equipment such as reflectors and color checkers, take advantage of them! However, for beginners, this list is a perfectly good starting point.
Before you start shooting, it’s also useful to start thinking about how you’d like to portray your product to your audience. Consider the tone of the photos, whether you need a model, and if there are any product features you want to highlight with your images.
But – don’t worry if you can’t fully picture (pun intended) your shoot yet. It’s often during the session itself when inspiration hits. That’s the fun part!
Truth is, high-end cameras are not strictly necessary for product photography shoots. If you’ve got a decent DSLR, don’t be shy to use it; but if you don’t, your smartphone camera is often capable of getting the job done.

Just take note of your phone camera’s sensor size and megapixel resolution. On average, a 1-inch sensor or anything close to that and a resolution of around 12 megapixels should be good to go.
Here are some phone models that should work fine:
Just remember – most phones have better rear cameras than front cameras, so use your rear camera during the shoot!
When it comes to backgrounds, things get a little trickier.
On one hand, a simple plain background can highlight the features of your product, but can be a little boring. On the other, a real-world background may be more dynamic but steal the spotlight from your product. If you can, try taking a combination of both types of photo for your online store.
Simple backgrounds are easy to set up.
For smaller products, a chair mounted sweep is often all you need. To set this up, just clip a roll of smooth cloth or craft paper to the back of a chair, and let the material roll down the seat. Voilà! There you have it, a smooth background, without even having to spend a single cent.
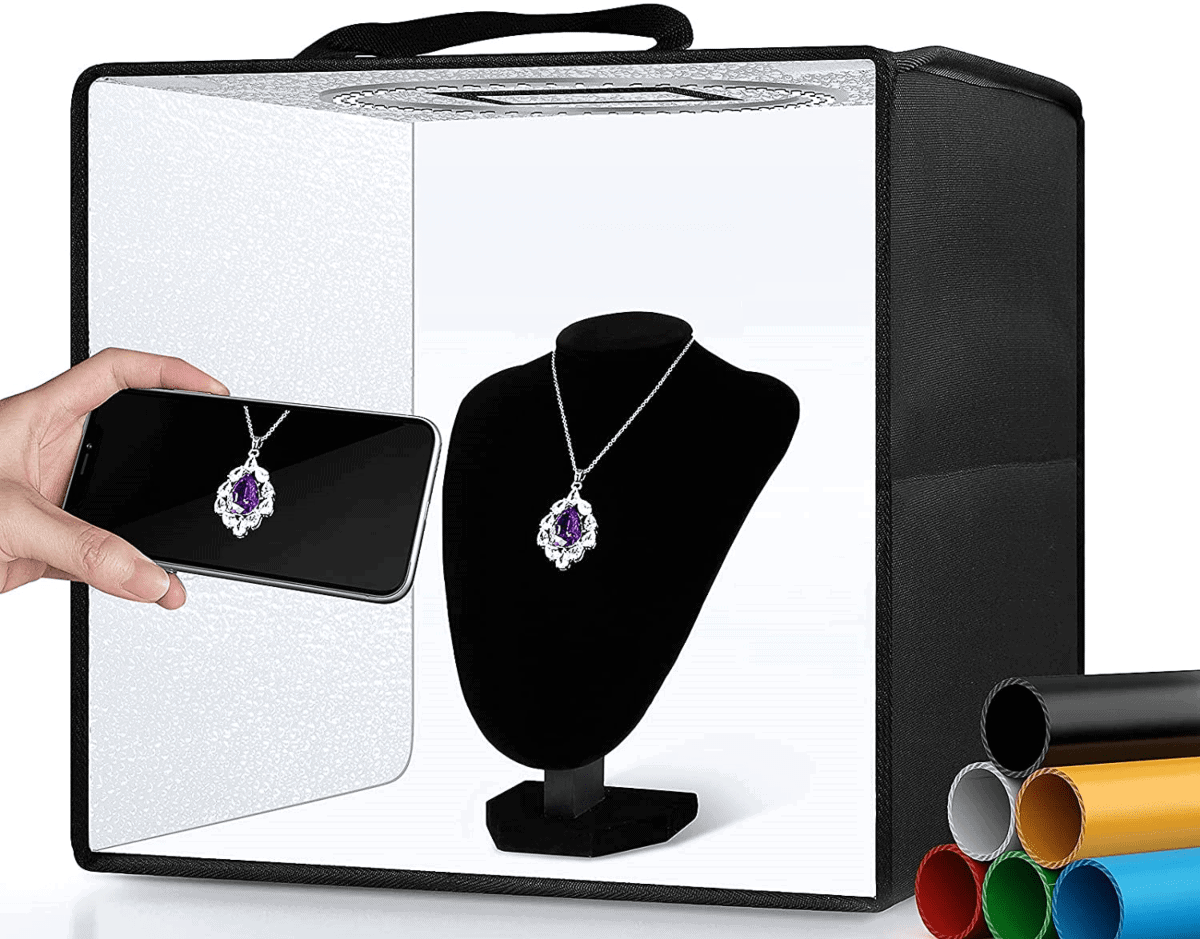
For bigger products, it might be worth it to splurge on a good light box. Something like this can provide a well-lit standard background and save you a ton of time in editing later on.
Real-world backgrounds can require a little more planning.
Generally, you’ll want to include a scene that’s related to your product or your target audience. For example, food products could have their ingredients or a meal in the background.
If you’re selling stationery, you can feature work or school-related stuff in the background, such as laptops and books.
Try looking around your house for items you can use as props. With a little creativity, even the most mundane objects make for an excellent background!
Lighting is probably the most overlooked aspect of beginner product photography.
Don’t make that mistake! The right lighting can turn an average photo into something phenomenal. There are two kinds of lighting, natural and artificial.
Unsurprisingly, natural lighting uses sunlight. The best part about natural lighting is that it’s completely free. On the flip side, sunlight is not very easily manipulated and can change as quickly as it takes for you to move from one shot to the next.
One of the easiest ways to harness natural light is to shoot your product indoors during the daytime, near a large window. Do remember to check how sunny it’ll be during your session! The difference between an overcast and sunny day can drastically change the mood and quality of pictures produced.
Generally, photographers try to shoot during the sunniest time of the day, as there’d be more light for you to bounce around and use.
Do beware though, too much sunlight can cause overexposure and create harsh shadows. Here are some tips to avoid that:
Artificial lighting includes any light source that’s man-made, so think studio lighting setups. Artificial lighting gives you more control over how your shots turn out, but it might also be quite costly depending on the equipment you purchase.
There are three placements of artificial lighting:
To get the perfect placements of all your lights, do play around with the angles and distances at which you position them. As the saying goes, practice makes perfect, so you’ll find it easier to set up artificial lights the more you do it!
If you’re looking to invest in artificial lighting, these studio lights are relatively cheap and easy to set up.
Now that you’ve got your studio all set up, lets learn how to paint your product in the best light, and make your shots look #aesthetic.
This tip rings especially true for small businesses and new start-ups trying to find their footing amongst giant corporations. Make sure that your photos don’t only showcase your products’ best features, but also convey your company’s values.
Are you a fun, young lifestyle brand? Use bright colors and props that reflect youth culture. Are your products classy and elegant? Try softer lighting with “mature” background colors. Is your product style versatile? Show your audience all the ways it can be used through your product shots!
By staying true to your brand, you’ll not only be able to attract the right audience, but also stand out from the crowd with unique product photos.
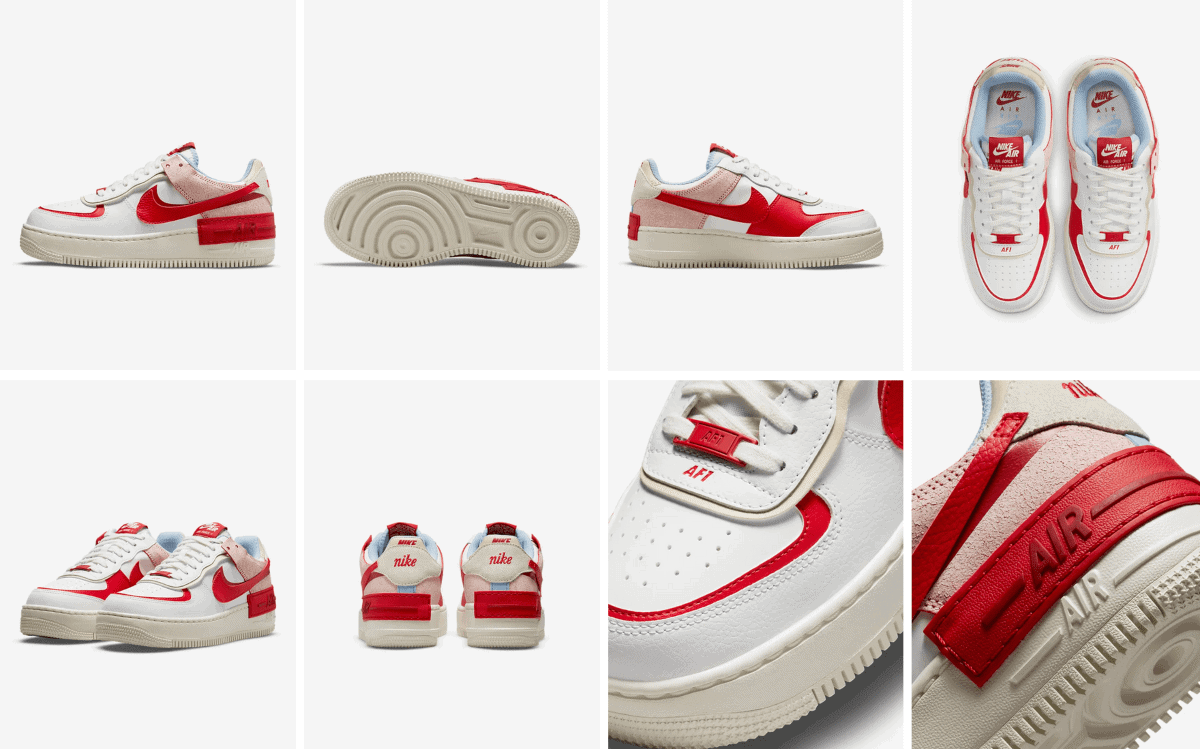
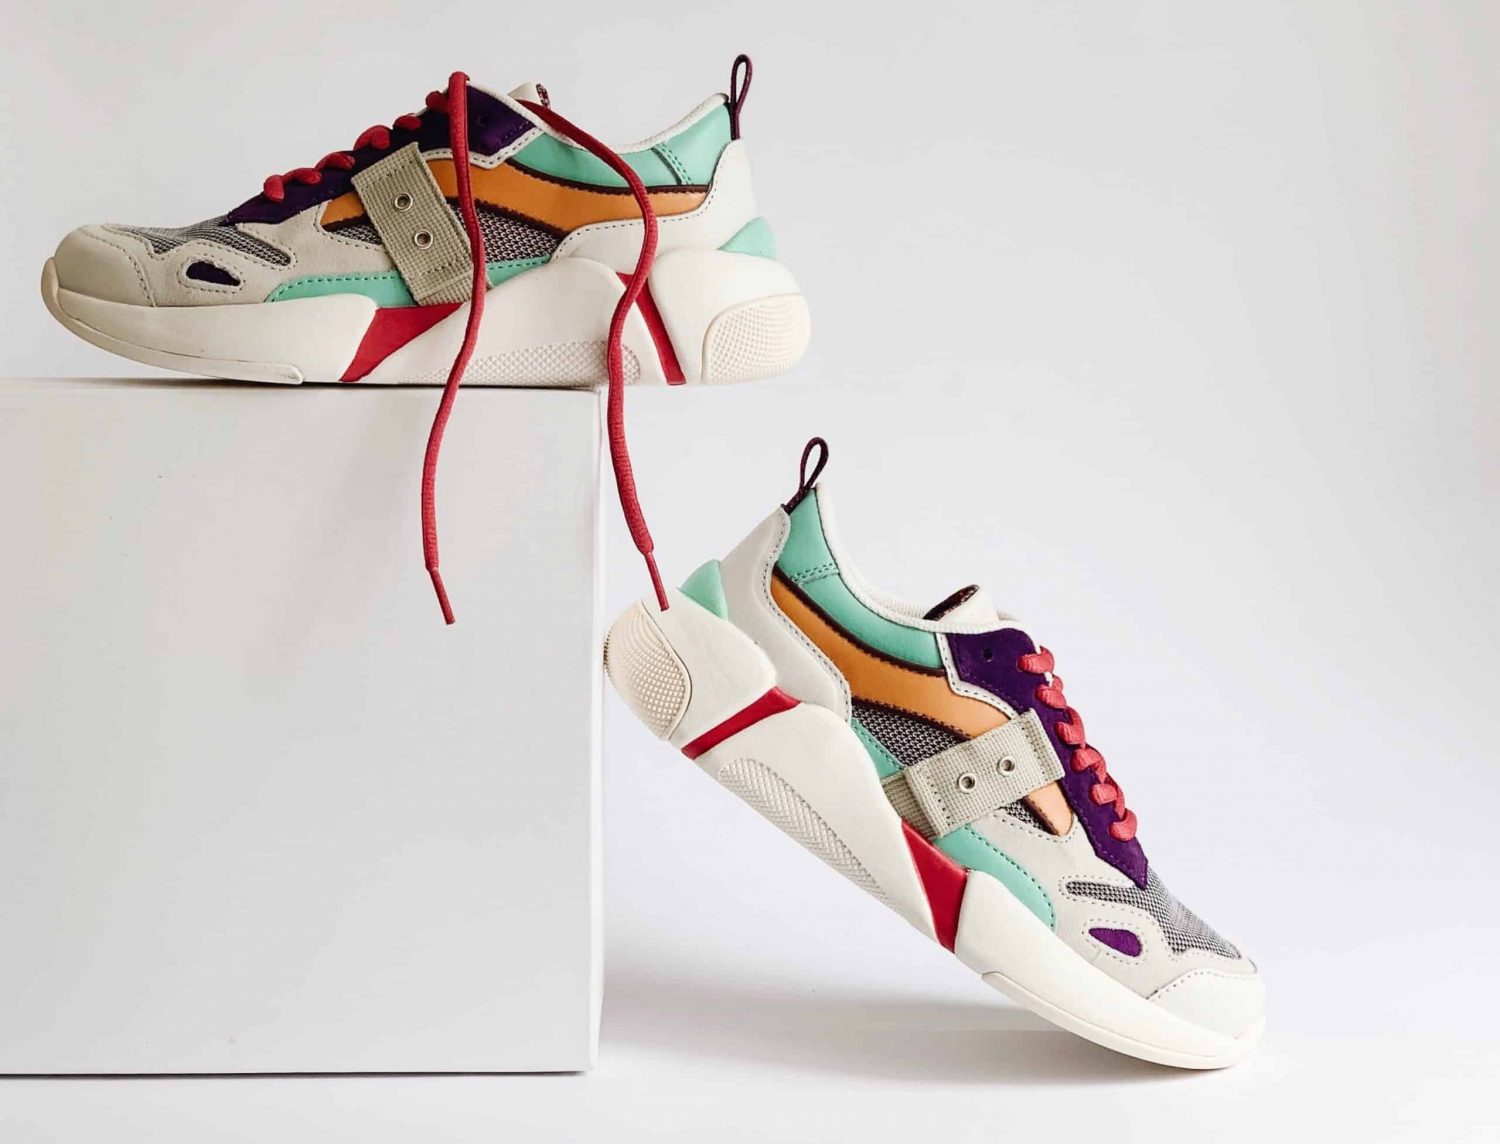
Now, this might seem like a no-brainer, but you’ll be surprised at the number of online listings that only offer one or two shots of their product.
Good product photos need to showcase the product from different angles, so the customer can get a rounded view of what you’re selling. This is doubly important for products that have multiple functions or special features.
So snap away! It’s always better to have more pictures to choose from than to have not enough.
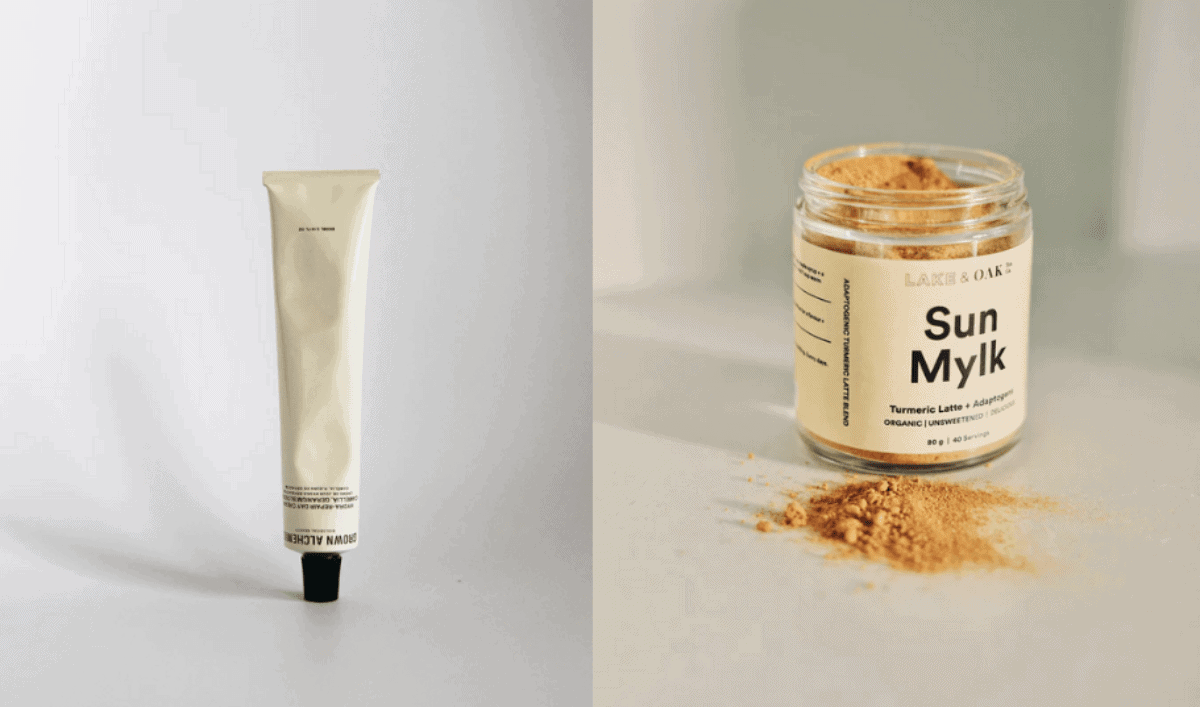
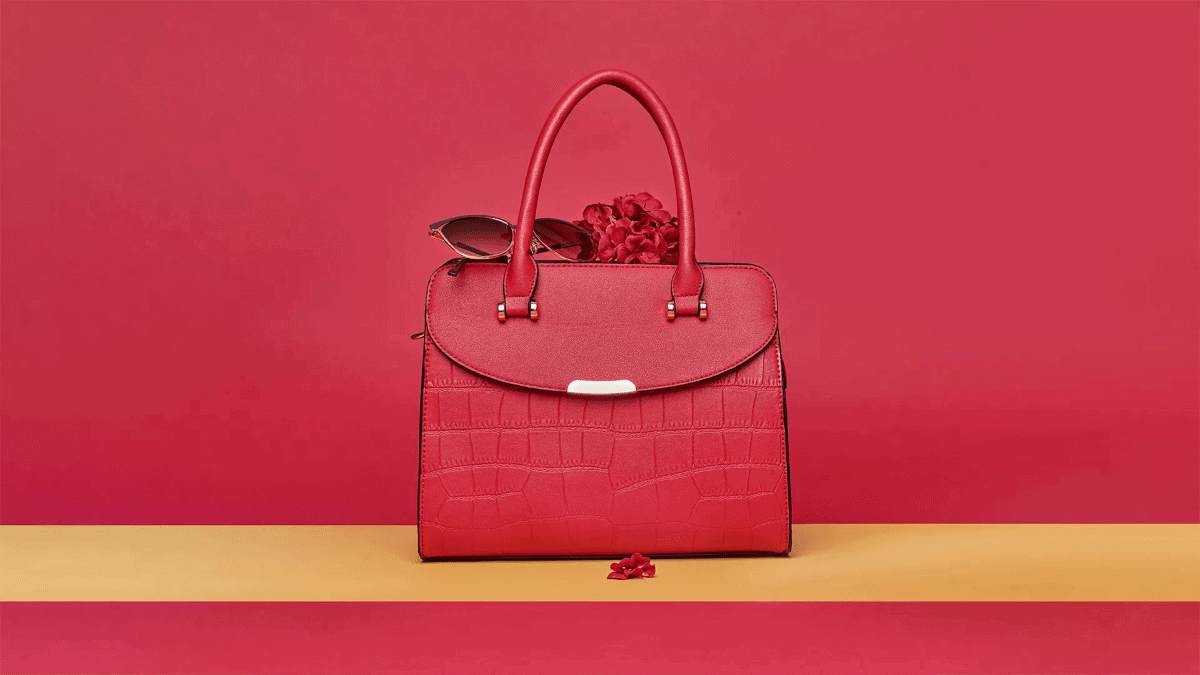
For those of you unsatisfied with just a simple plain white background, there are a few ways to spice up your shot. The first method would be to use a plain but colored background, like the picture below:
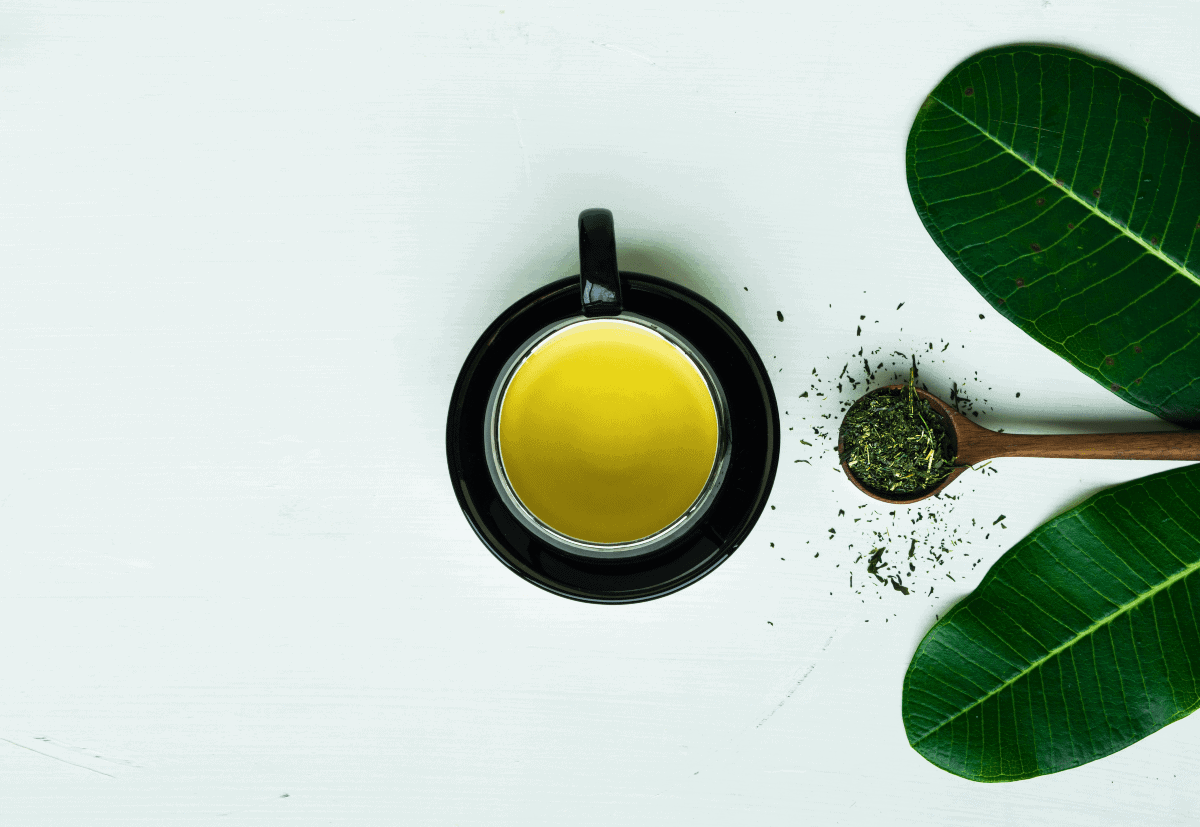
Or, you can try incorporating unique product elements into the shot. An instance of this would be:
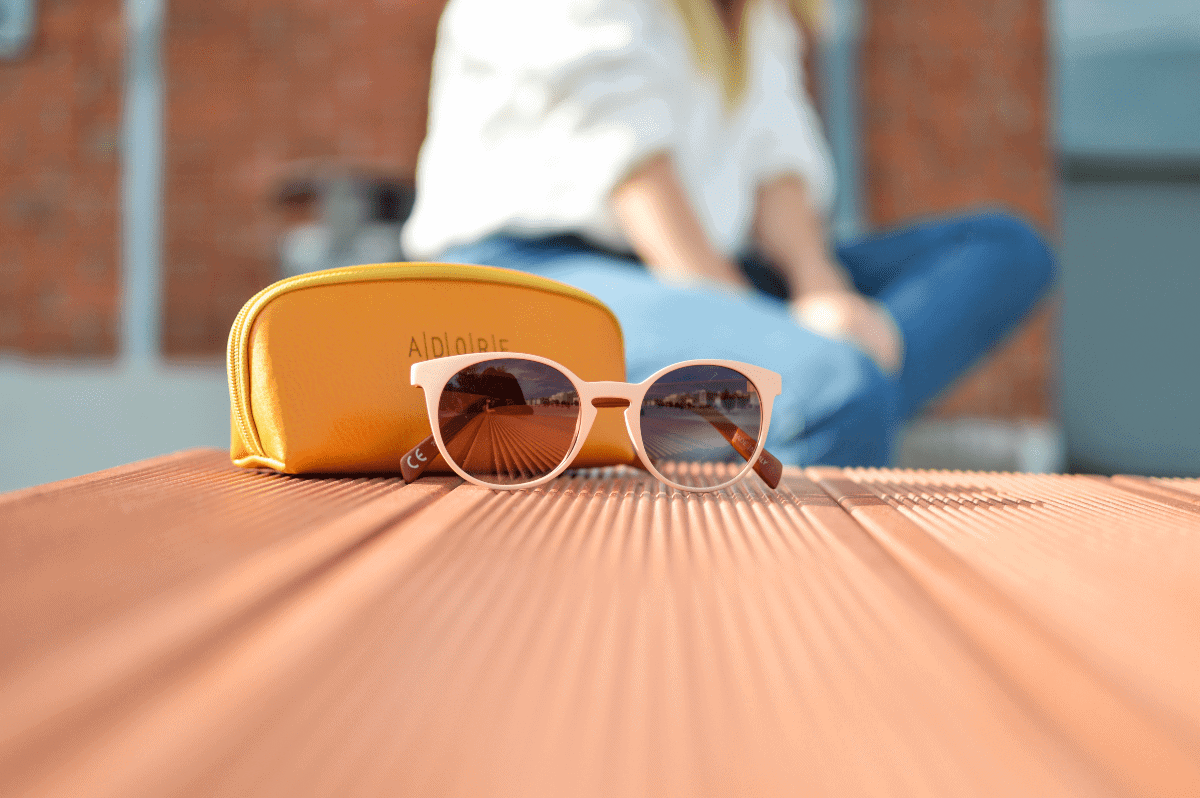
For real-world backgrounds, remember not to overcrowd the photo. A great tactic is to use a bokeh effect, or in other words, a blurred background.
While this tip might sound a little odd, it’s definitely something you’ll thank yourself for after the shoot.
It’s easy to overlook flaws in your shots on a smaller screen, such as your camera or phone. On your laptop however, these flaws are magnified. This also works vice versa, where bad shots might turn out to be stunning. So, make it a habit to double check your photos on a larger screen.
ALWAYS Keep Your Photos Safe
Nothing is more painful than losing photos you worked hard for. See our tips on backing up your photos.
Once you’ve got all your photos ready, it’s time for the last step – picture editing!
If your raw shots are clear and pristine, you’ll often only need to do minor fixes here and there. These would include brightness or exposure issues, color correction, adjusting the white balance and more.
If all this technical camera talk is making your head spin, don’t worry. There are plenty of picture editing tutorials online that can teach you the best ways to fix up your shots.
Otherwise, if you’re more of a hands-on person, just pop your image into a decent photo editor and explore all the options!
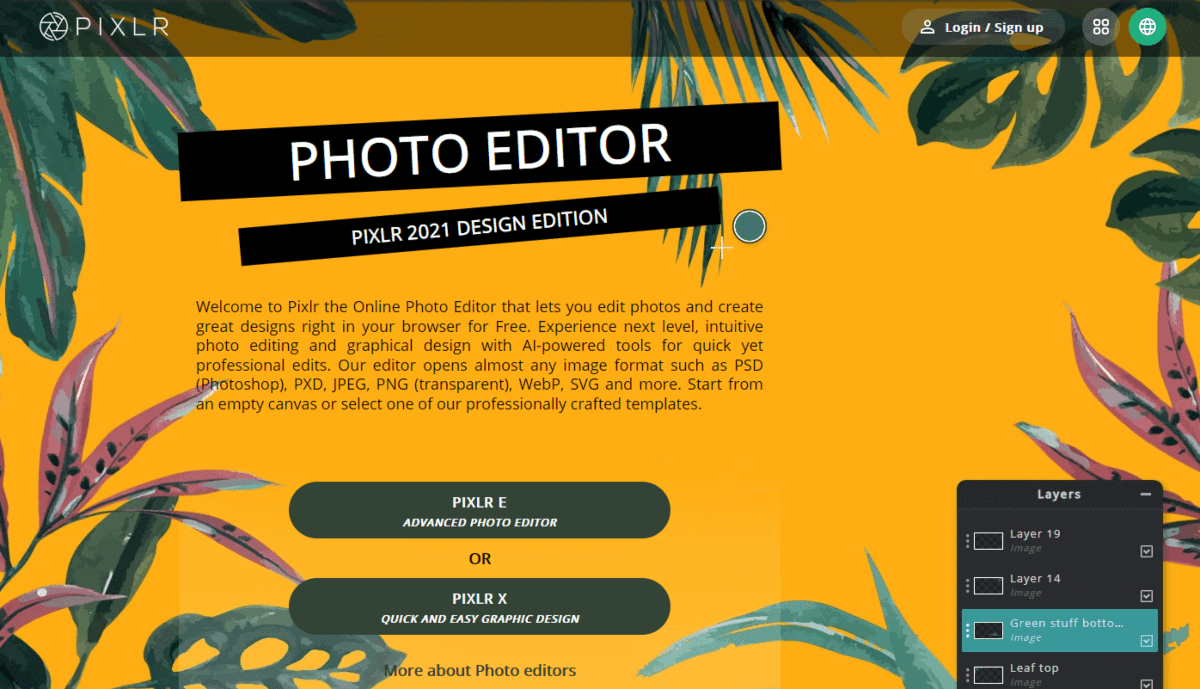

Two of the best, free photo-editing sites that we cannot recommend enough are Fotor and PIXLR. Both offer features such as background removers, collage makers, and are just generally easy to use, even for first-timers.
You’re almost all set to go off on your product photography adventure!
Before you go, here are a few common mistakes you definitely want to avoid:
While phone cameras are generally acceptable as a replacement for cameras, their flash function is most definitely not a replacement for proper lighting. Not only is the feature unadjustable, it’s also generally too harsh for product photography.
Opt instead for natural light sources or a light box.
There is a big difference between plastering a filter onto your images and using photo editing tools.
Filters are used to make something look better than it is in reality. Photo editing tools, such as color correction, are used to make the shots look as close as it could possibly be to the actual item.
While it’s understandable that you would want your product to look its best, it’s also important that your photos give the customers the right expectations of your product. This mistake is so common that it’s said to cause 22% of all online shopping returns – but perhaps worse than that are the unsatisfied customers and disgruntled reviews left by them.
Different sources often have different intensities, tones and warmth. If you start mixing them, it can sometimes result in odd shadows and contrast.
However, if you’re using artificial lighting, it’s quite common to have different kinds of light sources for the key, back, and fill lights. Just make sure the different sources don’t clash, and the image looks cohesive.
And there you have it, everything you need to know before your product photography session.
Experiment and explore! And most importantly, go have fun!
Pixie is a freelance writer who's spent more of her life writing than not. With experience in managing private blog networks, she's written for a range of industries like travel and entertainment. Connect on LinkedIn.

