


Join our Telegram channel to learn more!
Hey – yes you! How often do you back up your photos?
If your answer isn’t ‘regularly’, you’re only a corrupt memory card away from disaster.
Just ask any photographer who’s had to explain to a client that they’ve accidentally lost their wedding photos. Some photographers have lost their entire portfolios because of a faulty harddrive.
As your image archive grows, so does the need to protect your data.
Don’t wait for a soul-crushing data loss before you take action. Today, we’ll share the best ways to back up your photos securely and regularly.
4 Methods to Back Up Your Photos
Tips to Back Up Photos When Travelling
Conclusion
Backing up your library is an important part of a freelance photographer’s workflow. Or at least – it should be.
You’ve probably heard the horror stories about freelance photographers losing client photos before they could deliver them. It’s devastating for all involved. Upset clients may (understandably) leave bad reviews about how unprofessional you are. It can even lead to expensive legal action.
Yet, many photographers just download their images onto their laptop without making a single backup.
This is hugely risky. Harddrives fail for no reason. Laptops get stolen or spilled on. And as cybersecurity threats keep growing through 2021, we’re increasingly at risk of losing our precious files.
Hopefully, we’ve caught you before that happened. If not – here’s how to prevent a repeat.
Even today, there’s no indestructible storage medium. Hard drives mysteriously fail, discs get scratched and servers can get hacked. To counter this, you should have multiple copies on different mediums that are stored in different places.
How many copies?
A popular recommendation is to use the 3-2-1 backup system. This means you have 3 copies of your data at one time – 1 primary, and 2 backups.
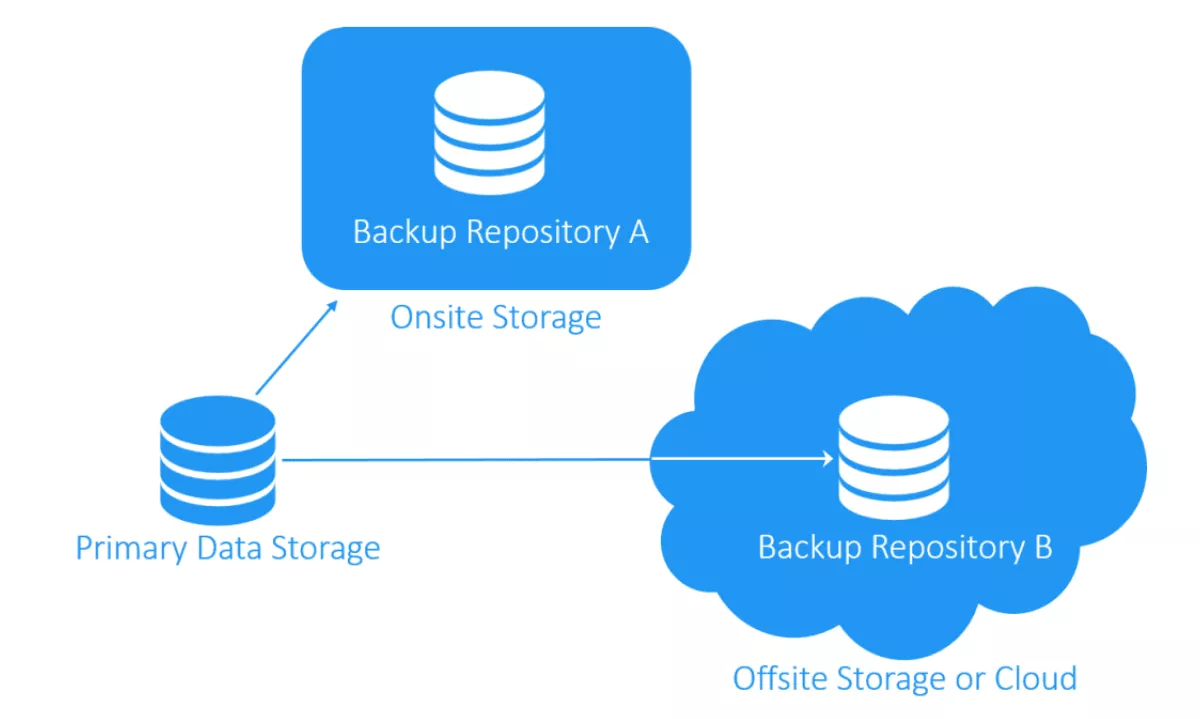
Your files should be kept on at least 2 different media types and one backup should be kept off site.
That way, if a backup is lost to burglary, floods, plagues or hellfire, your photos can still be recovered from the other location.
An example of this in action:
The 3-2-1 is just one suggestion. The more copies you can make of your files, the better. Just make sure you’re able to keep track of them.
Luckily, storage is getting more advanced and more affordable.
Here are the best storage options available to freelance photographers:
An external hard drive is the most obvious data storage device. They’re handy to carry around and you’re probably already familiar with them. The most common types are HDD and SSD.
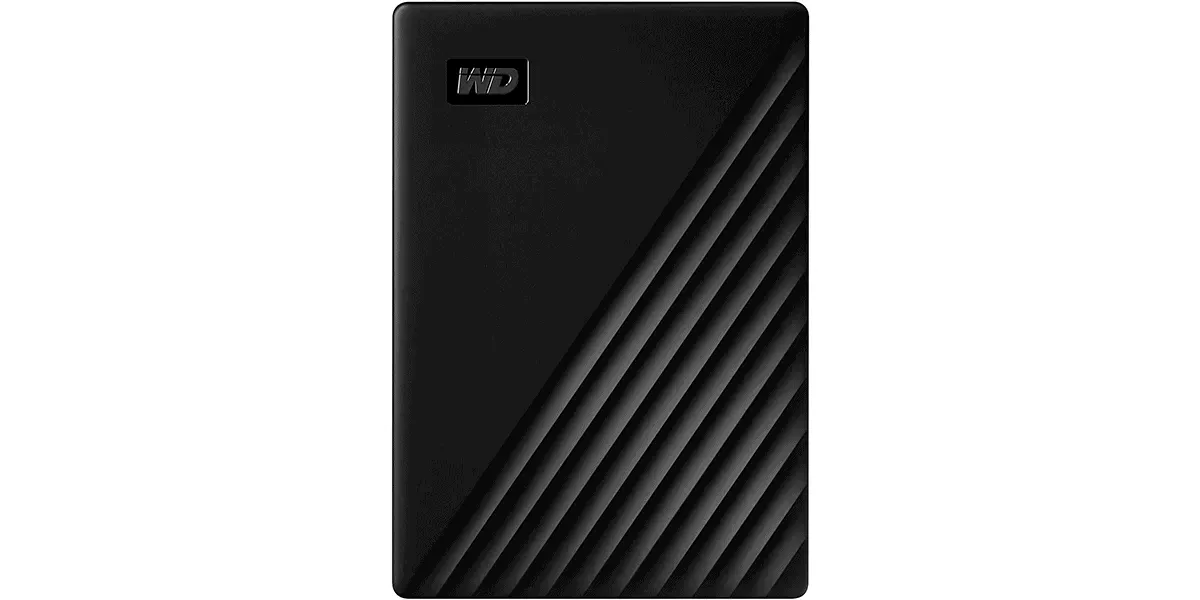
Many successful photographers rely on these as their primary method of backup.
Pros:
Cons:
Backing up your photos onto the cloud is another great option.
By uploading your images to a cloud server, you can then download and access them from anywhere you have an internet connection.
A good cloud storage brand is easy to use, affordable and offers airtight security – for example, by encrypting your files and keeping their data centre facilities secure.
There are lots of awesome cloud storage brands out there. Some are free, but these tend to offer very small amounts of storage space (for example, free Google Drive only includes 15GB). Certainly not enough to store hundreds of RAW files.
If you want to commit your images to the cloud, you should expect to pay a subscription that’s typically between $6 – 8 a month.
Here are our top picks for photographers:
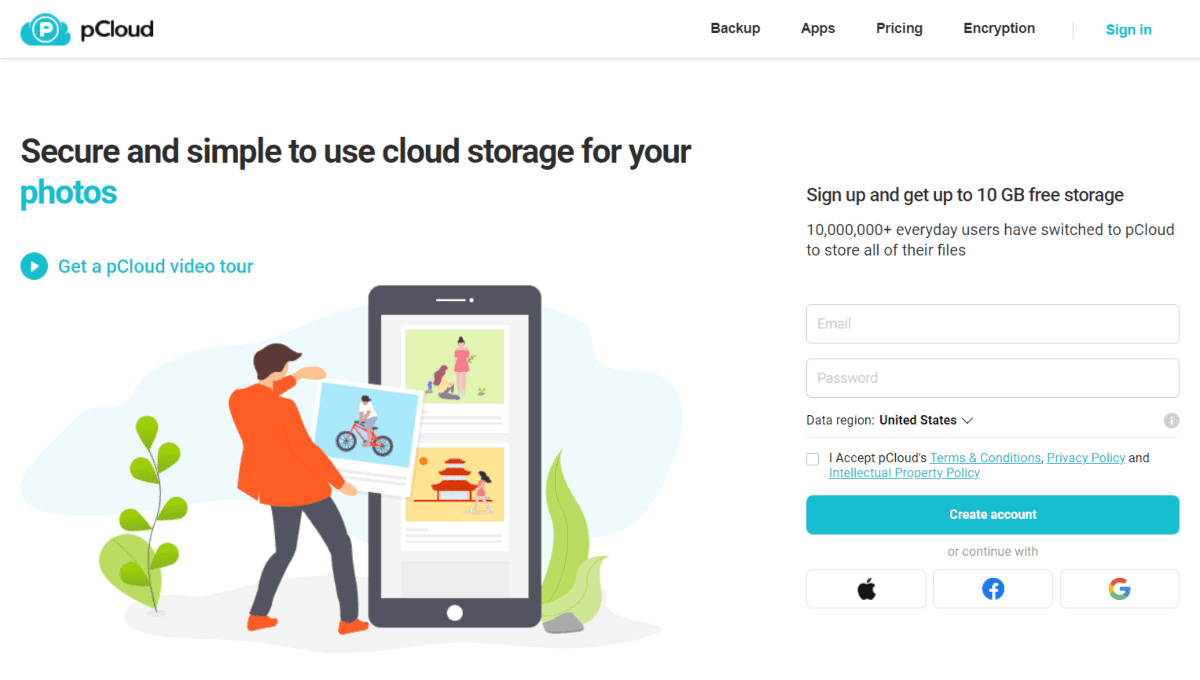
pCloud provides easy backup services but it also focuses on syncing with the existing folders on your computer. This will save you the trouble of having to upload photos all the time just to save them. pCloud also supports RAW files, and even RAW image previews.
They also have a BIG emphasis on safety. As well as encrypting all your data, pCloud actually stores 5 separate copies of every file in 3 different locations, so it’s HIGHLY unlikely your photos will be lost.
Plans start at $4 a month but they also offer a sweet ‘lifetime’ plan. You can pay $175 to permanently unlock 500GB and not worry about monthly payments again.
Read our pCloud review for more information.
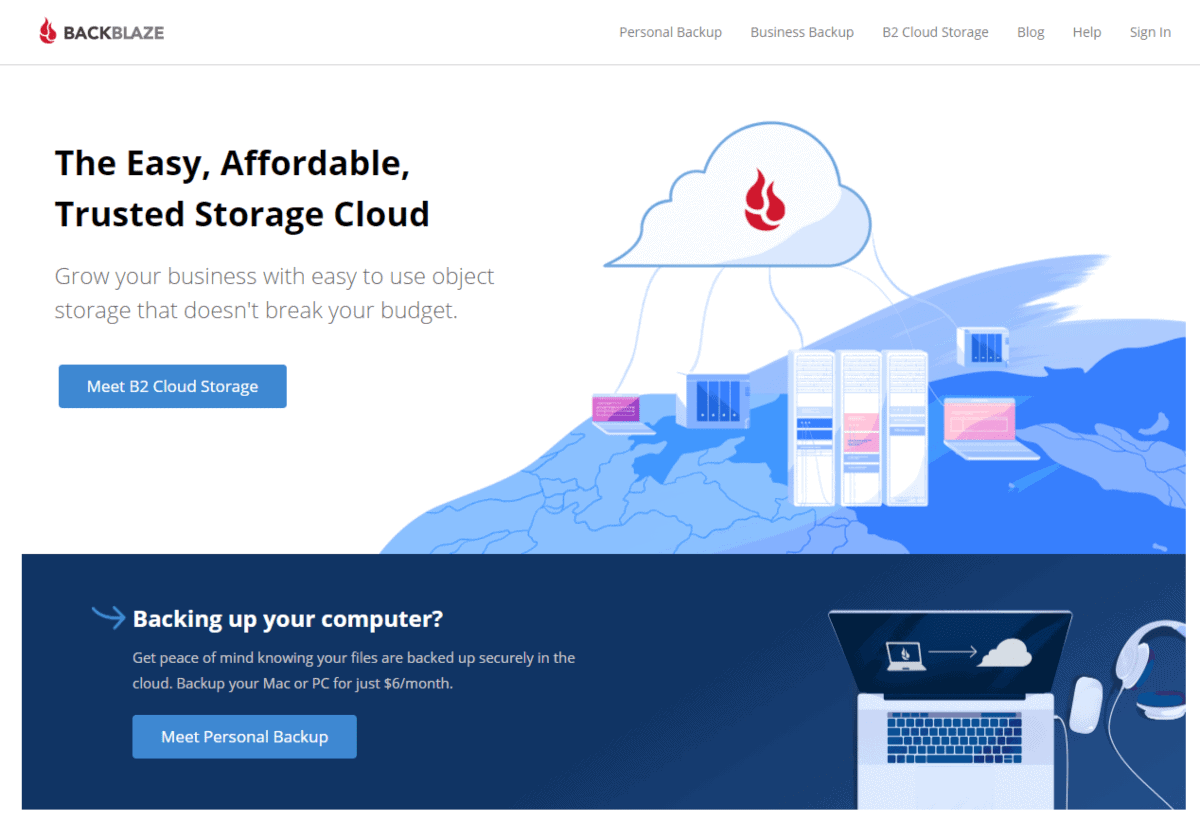
Backblaze is an affordable tool that backs up your computer with minimal effort. It’s essentially an online backup service that you can fully automate and then forget about. Best of all, you won’t need to worry about storage space since it’s unlimited.
They support RAW files, videos and most other file types. Best of all, you can actually backup your external hard drives onto their servers. Plans start from $6 a month.
Read our Backblaze review for more information.
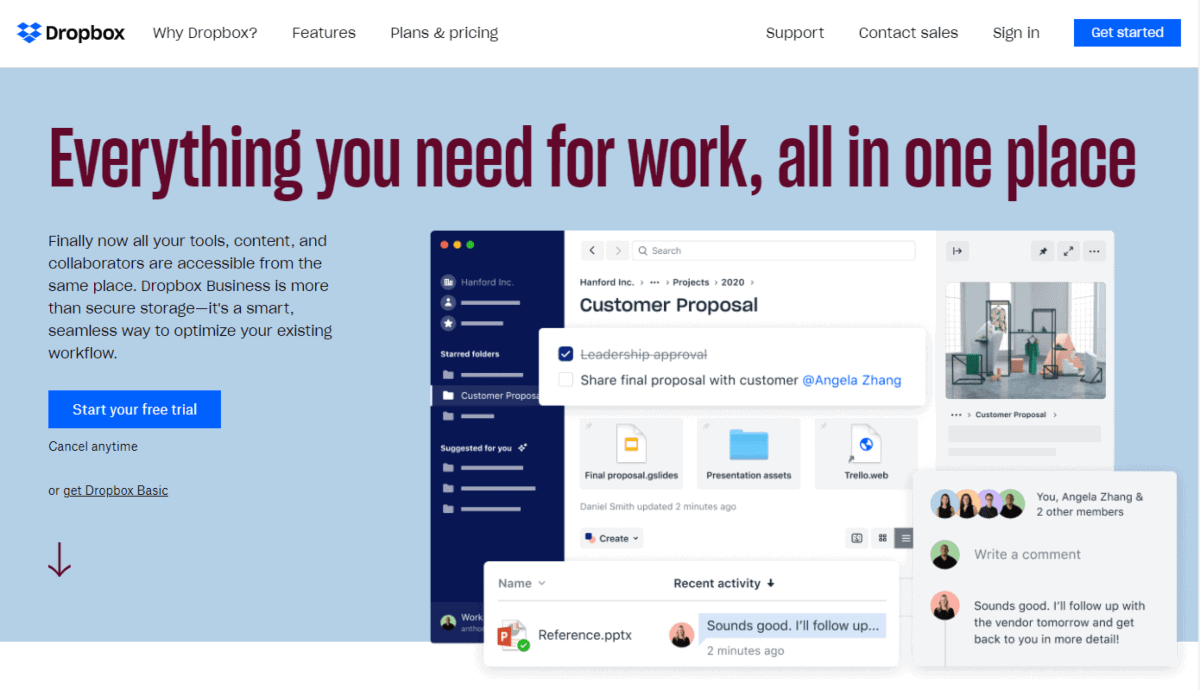
Whilst it’s not as tight on security as pCloud and Backblaze, Dropbox is well-loved for its interface which is friendly and non-intimidating for any beginner. You can choose which folders you want to back up and sync.
File sharing is also very easy, which can be handy when you want to share images with clients. Starts from $9.99 /mo.
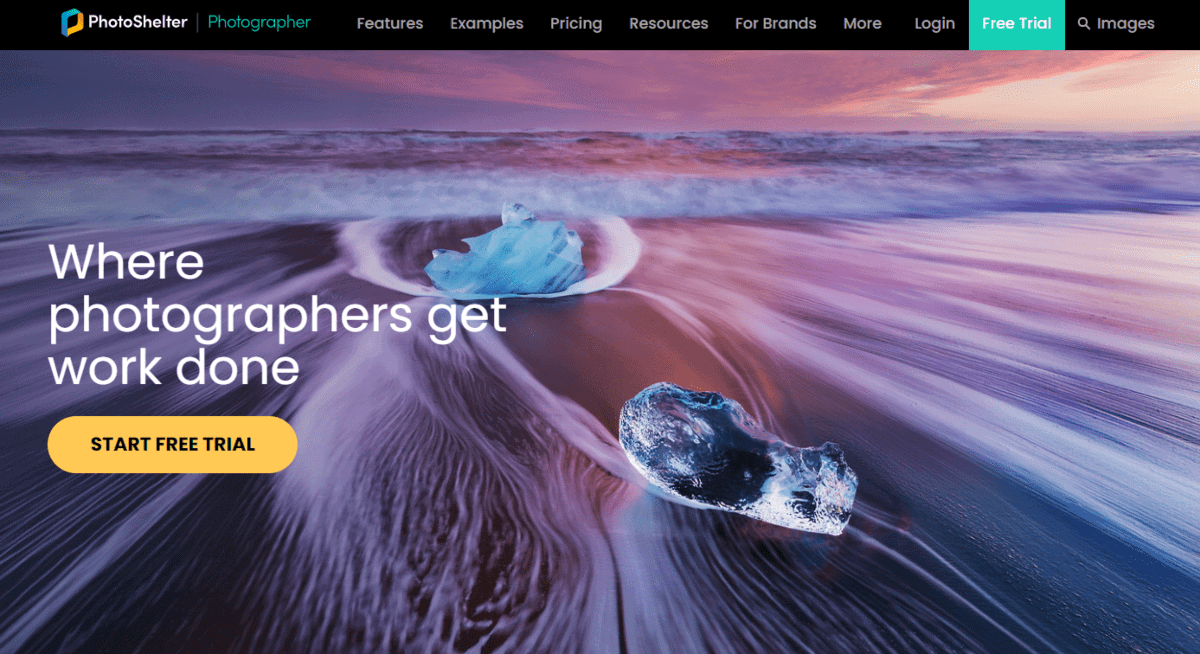
PhotoShelter is a full suite of cool photography tools. Their backup service is designed specifically for image files. It has some great features for showcasing and selling images but you’ll need to manage your backups manually.
Their plans start from $5 but you’ll only get 4GB of storage. Unlimited storage is $49.99/mo.
However, whilst cloud storage is great, you will need a fast internet connection. If you have metered internet usage, this may cost you extra.
Bear in mind that if you are backing up thousands of raw frames onto the cloud, you will quickly fill up your allowance. You’ll then need to pay more to upgrade your subscription plan.
Also, whilst the probability of you losing your backup is extremely small – it’s not zero. Servers can get hacked, and companies do occasionally go under (like BigStash and Photokeeper).
So, we would recommend:
If you want to keep your photos highly secure, you can also consider a Network Attached Storage, otherwise known as a NAS device.
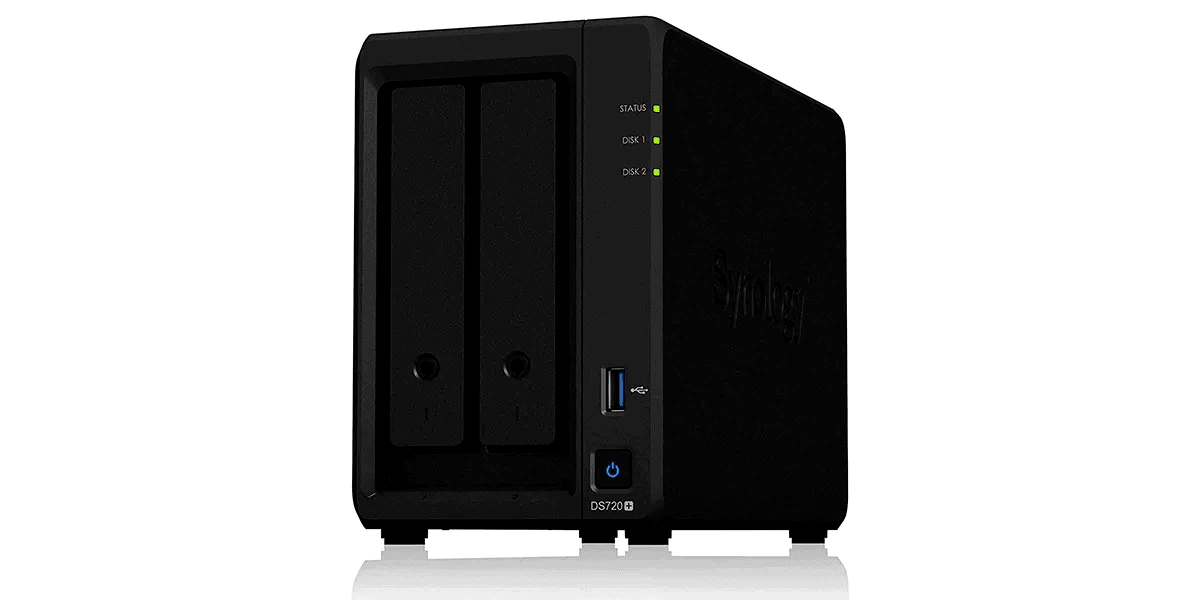
This is a physical storage device you own that connects to the internet. It allows you to access your files and photos from anywhere using an internet connection. Effectively, it’s your own private cloud service.
These guys are pretty damn awesome.
Pros:
Cons:
Burning copies of photos on BlueRay, CDs and DVDs can work as an extra layer of backup option too. However, we’d recommend doing so on top of your 3-2-1 system.
Depending on your operating system, you just need to click and drag files onto the disc’s folder or simply select ‘burn to CD’.
Pros:
Cons:

If you’re on a job where you’re travelling and taking photos, image backup can get more complicated.
It can be hard to find an internet connection that is fast or reliable enough to upload your images to the cloud. It’s better to backup to a physical device and keep this backup separate from your camera/laptop (ideally in a secure location like a hotel safe).
Rather than using one, high-capacity memory card, try using multiple and storing them in multiple places. That way, you won’t lose ALL your photos if you misplace one.
On the other hand, this itself isn’t much of a backup strategy. You don’t want to lose a memory card entirely
High capacity USB thumb drives, SD and microSD cards are affordable and easy to find. They tend to be more expensive per MB than harddrives, but they’re great for travel since they’re more portable.
An OTG cable will let you connect a USB stick or USB hub to a smartphone/tablet with an OTG micro USB port.
With a USB hub, you can connect a card reader and a USB drive/HDD to an Android phone/tablet at the same time to manage and backup your photos. Check out the hack here.
Unfortunately, it gets much more complicated for iOS users due to issues powering up the USB drive/hub.
If you’re taking photos regularly, you should do regular back ups.
Ideally, you should adapt your workflow so that you back up your images immediately after a shoot. Get your images off your memory cards and into permanent storage ASAP.
The next best option to make it a weekly or monthly habit. Commit to doing a backup every Monday, or the same date every month.
Data loss is always scary, especially when your career depends on it.
If you haven’t got a solid system for backing up your photos, it’s time to change that, pronto!
Committing to the 3-2-1 and a mixture of physical and cloud storage will help you ensure you can protect your hard work and keep growing your portfolio.
Dani is an editor and writer based between KL and Mexico City. Sprung from the advertising and travel industries, she’s also spent the last 10+ years freelancing for a slew of creative online businesses around the world. Connect with her via LinkedIn.

